The Network Simulator software is a software tool that enables candidates to work on Juniper router and switches in a stand alone virtual lab environment. Several labs have been made available for practice in the lab manual. Both Command Line Interface (CLI) mode and Graphical User Interface (GUI) mode are available. Domains covered in the labs include
- Basic IP address configuration of routers and switches
- RIP, OSPF, DHCP, NAT, Firewall configurations
- VLAN, VTP configurations
- STP configuration and troubleshooting
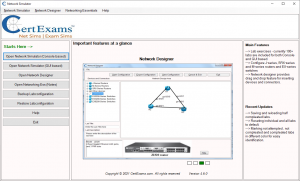
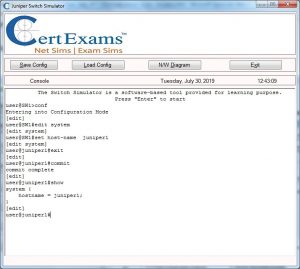
Juniper Network Simulator Navigation Main window is show below
This section briefly describes the functionality of the network simulator module (Console based). Screen-shot of the Network Simulator is given below:
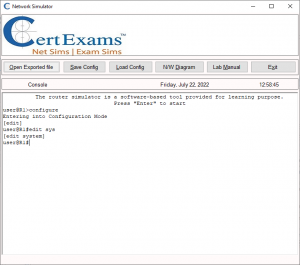
1. Open Exported File: This button is used for opening a file that was created using Network Designer module.
2. Save Configuration: “Save Config” button is used for saving the network configuration for later use. On selecting this button, you will be prompted for a filename under which the current configuration of the network has to be saved. By default this file is stored under “User” directory.
3. Load Config: Load Config button is used to open the saved Configuration file.
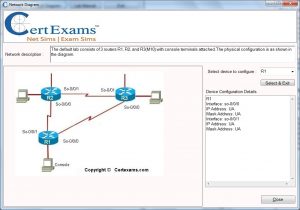
4. Network Diagram: Clicking the N/W Diagram button displays the network diagram you are currently working on. To select a Device click on the device list drop down box and select a Device. After selecting click on “Select & Exit” command button.
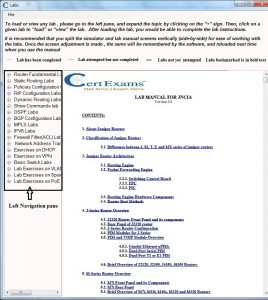
5. Lab Manual :This is a very important feature! It opens up the lab manual for practice. Within the lab manual, you can see several ready-made labs for exploration. The labs start from very basic configuration so that beginners will get benefited. As you open the Lab Manual, you will see two options. a) Load Lab and b) View Lab. The first option loads that particular lab for exploration using Simulator. View lab will simply take you to that particular lab in the manual. But it doesn’t load that particular lab Below is the screenshot of the lab manual window.
6. Exit: Clicking this Button moves control to the main Screen.
7. Router Console: A screenshot of the simulated device console is given below. Device console is used for entering the commands. Start the console by giving a “carriage return”. To begin with, a user prompt is displayed. You can use appropriate commands to practice as given in the supported commands
Download the following to know more about the functionality. of Juniper Network Simulator for Console and GUI
Network Simulator with designer for Juniper
You can also view the available labs here
Juniper Network Simulator available labs
Also check below link for : Initial Software Configuration on SRX100 Services Gateway Using CLI