Contents
2. Schedule labs session online.
3. Login to lab rack at scheduled date and time.
1. Buying Credits
To use the lab racks you need to buy "Credits" using the buy button provided above. Please note that the price is for one lab credit. Each credit will have 5 hours of lab time. Multiple credits may be purchased.
2. Schedule labs session online.
Once lab "Credits" are purchased successfully user will receive an confirmation email along with login details to our scheduling software.
Login detalis provided can be used to login and schedule the lab rack online using our scheduling software.
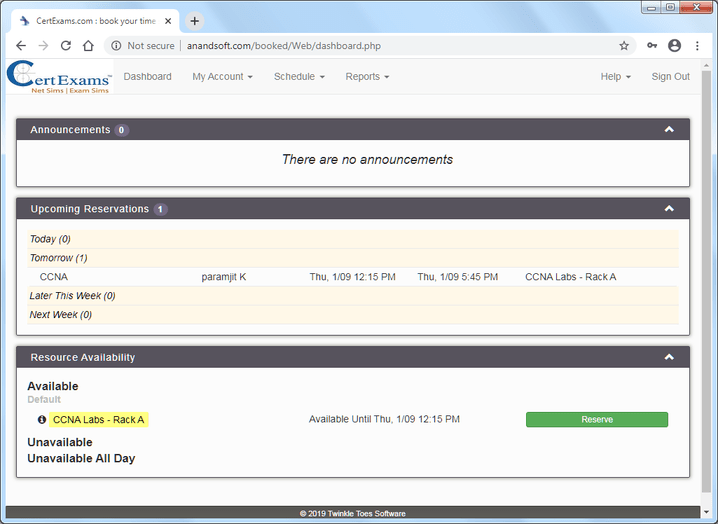
After login user will be presented with all the available "lab Racks" under "Resource Availability" option. User can select appropriate lab rack and click on Reserve to start scheduling.
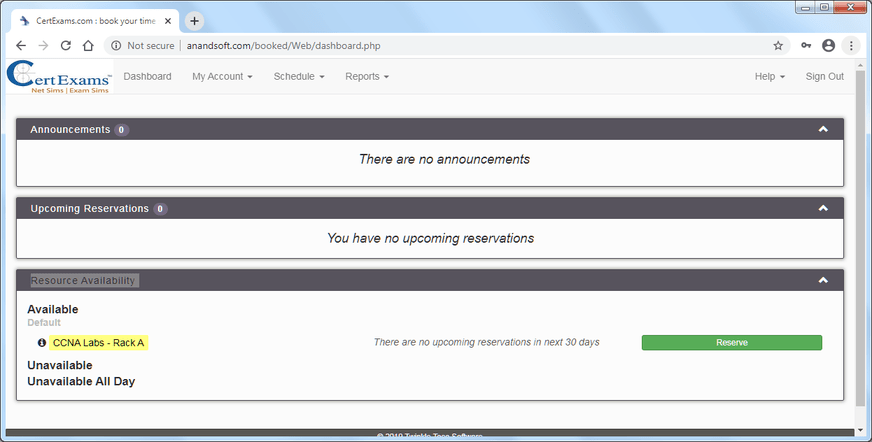
On Clicking "Reserve" user will be taken to booking page as shown below.
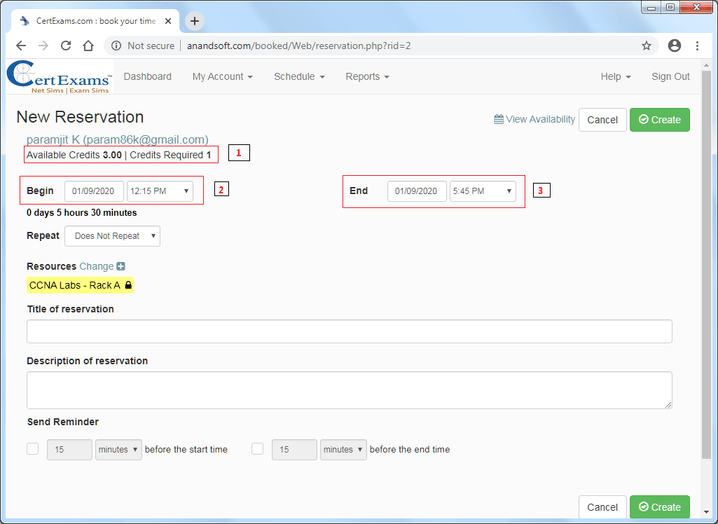
Details as marked in figure above
Title of the reservation and Description of the reservation are optional.
Once all the details are entered click "Create". User will be given confirmation for booking.

Once user booking is approved it will be listed under "Upcoming Reservations" in dashboard.
3.Login to lab rack at scheduled date and time.
Required :
User will receive an email with all the details required to login (Host name, login, password) along with complete lab manual.
You need a terminal emulator to work with the lab rack. Download and install TeraTerm or Putty to log-in to the Lab Rack. For Windows Teraterm is recommended and downloaded from the link given below:
Windows:
TeraTerm : https://tera-term.en.lo4d.com/windows (Open Source, free)
PuTTY : https://www.chiark.greenend.org.uk/~sgtatham/putty/latest.html
Linux (Ubantu):
PuTTY is already available via the default Ubuntu repositories and may be installed from the Linux terminal with the following command:
# sudo apt-get install PuTTY
http://www.linuxandubuntu.com/home/putty-ssh-client-and-telnet-client
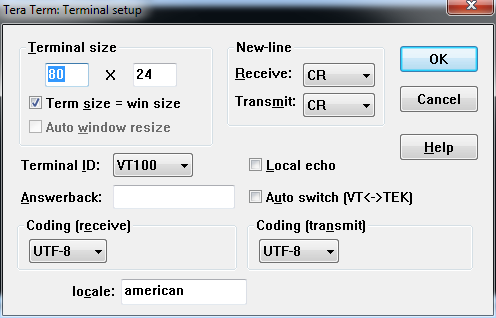
Tera Term initial setup is shown below:
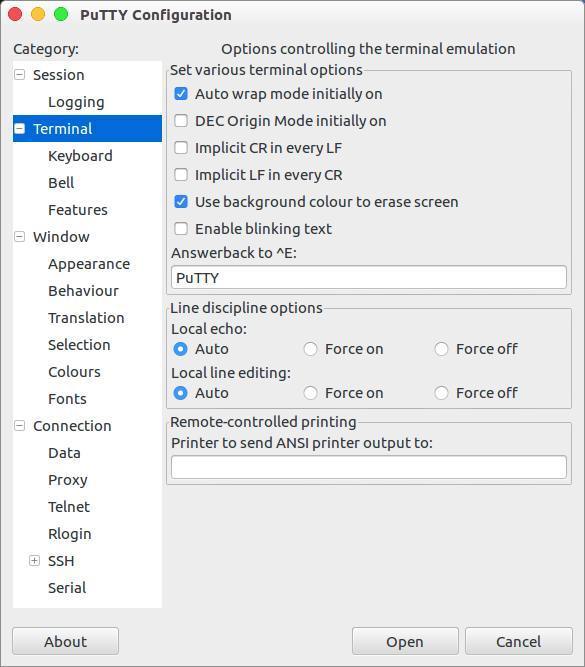
PuTTY initial setup is shown below:
TeraTerm settings are as shown in the figure below. Host name will emailed to you. Select "Telnet" under service and make sure port number is 23 (these are usually the default values and need not be changed).

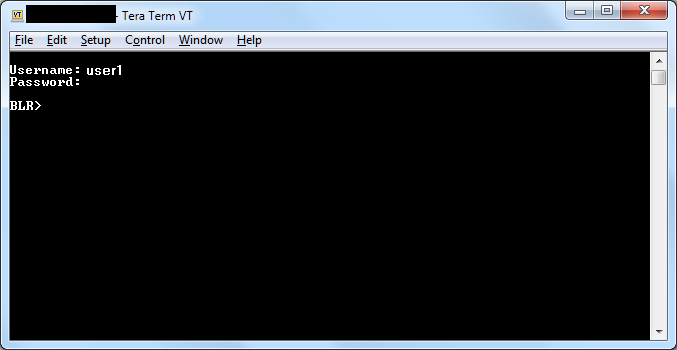
Then enter the login and password emailed to you and you will be connected to gateway router. It is advised that you take a printout of the Lab Diagram and go through the lab manual (emailed to you) before hand to save time
Note that you wouldn't be able to login after the expiry of the scheduled time.